Painting vinyl windows can be a cost-effective way to refresh the look of your home without the expense of replacement. This guide will walk you through the process, from preparation to the final coat, ensuring a professional finish.
Why Paint Vinyl Windows?
Vinyl windows are durable and low-maintenance, but over time, they can become faded or outdated in appearance. Painting them can provide a new look, matching current design trends or personal preferences. It’s also a practical solution if you’re renovating and need your windows to complement a new color scheme. Additionally, painting vinyl windows can protect the material from UV damage and prolong their lifespan, saving you money in the long run. A fresh coat of paint can also enhance curb appeal, potentially increasing the value of your home if you decide to sell.

Materials and Tools Needed for Painting Vinyl Windows
Before you start, gather the following materials and tools to ensure a smooth and efficient painting process:
- High-quality vinyl-safe paint: Ensure the paint that you select is specifically designed for use on vinyl surfaces to prevent peeling and cracking.
- Primer suitable for vinyl: A good primer will help the paint adhere better to the vinyl and increase its durability.
- Painter’s tape: Use this to protect areas that you don’t want to be painted, like the glass panes and window frames.
- Drop cloths: Protect your floors and surrounding areas from paint spills and splatters.
- Sandpaper (fine-grit): Light sanding helps create a texture for the primer and paint to adhere to.
- Cleaning solution (mild detergent or vinegar): Clean the windows thoroughly before painting to ensure there is no dirt or grime that could interfere with paint adhesion.
- Paint brushes and rollers: Choose high-quality brushes and rollers to achieve a smooth finish.
- Protective gloves and eyewear: Safety first! Protect your hands and eyes from chemicals and paint splatters.
Preparing Vinyl Windows for Painting
Preparation is key to a successful paint job. Follow these steps to prepare your vinyl windows:
- Clean the Windows: Remove all dirt, dust, and grime using a mild detergent or vinegar solution. Rinse thoroughly and let dry completely. Proper cleaning ensures that no debris will interfere with the paint’s adhesion.
- Sand the Surface: Lightly sand the vinyl surface with fine-grit sandpaper to create a texture for the primer to adhere to. This step is crucial for ensuring that the paint sticks well to the vinyl and lasts longer.
- Protect Surrounding Areas: Use painter’s tape to cover glass panes, handles, and any areas you do not want to paint. Lay down drop cloths to protect the floor and nearby surfaces. Proper masking prevents accidental paint splatters and drips, giving you a cleaner finish.
- Apply Primer: Choose a primer designed for vinyl surfaces. Apply a thin, even coat and allow it to dry as per the manufacturer’s instructions. Primer creates a strong bond between the vinyl and the paint, ensuring durability and longevity.
Choosing the Right Paint for Vinyl Windows
Selecting the appropriate paint is crucial. Look for high-quality exterior paint that is specifically formulated for use on vinyl. These paints are designed to expand and contract with the material, preventing cracks and peeling. It’s important to choose a paint with UV resistance to protect against fading and damage from sunlight. Additionally, opt for a low-VOC or no-VOC paint to minimize harmful fumes and ensure a safer environment during the painting process. Consulting with professionals or visiting reputable paint stores can help you find the best products for your project.
Step-by-Step Guide to Painting Vinyl Windows
Now that your windows are prepared, it’s time to paint. Follow these steps for a flawless finish:
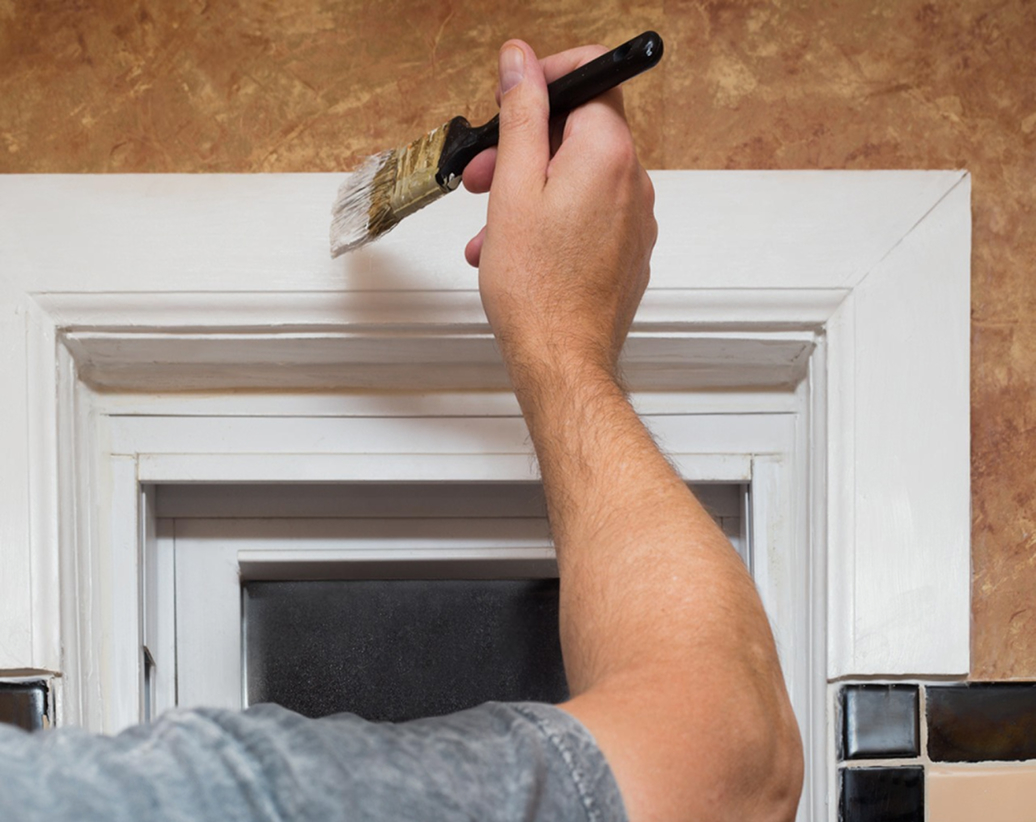
- First Coat: Using a paintbrush or roller, apply the first coat of paint in thin, even layers. Avoid overloading the brush to prevent drips. Work in smooth, long strokes to cover the surface evenly.
- Drying Time: Allow the first coat to dry completely. This usually takes a few hours, but check the paint manufacturer’s instructions. Ensuring the first coat is completely dry prevents smudging and uneven layers.
- Second Coat: Apply a second coat of paint for better coverage and a more durable finish. Again, let it dry thoroughly. Multiple coats ensure that the color is vibrant and even, and the paint lasts longer.
- Inspect and Touch Up: Once the paint is dry, inspect your work for any missed spots or imperfections. Touch up as necessary. Final touch-ups ensure that your windows look professional and polished.

Common Mistakes to Avoid When Painting Vinyl Windows
Avoid these common pitfalls to ensure a successful project:
- Skipping the Primer: Primer is essential for adhesion and durability. Skipping it can lead to peeling and an uneven finish.
- Using the Wrong Paint: Ensure you use paint formulated for vinyl surfaces. Regular paint can crack and peel on vinyl.
- Not Allowing Adequate Drying Time: Rushing the process can lead to smudges and an uneven finish. Always follow the manufacturer’s drying instructions to avoid issues.
Maintaining Painted Vinyl Windows
To keep your newly painted windows looking fresh:
- Clean Gently: Use mild cleaning solutions and soft cloths to avoid damaging the paint. Abrasive cleaners and tools can scratch and dull the finish.
- Inspect Regularly: Check for any signs of peeling or wear and touch up as needed. Regular maintenance helps preserve the look and integrity of the paint.
For professional assistance or more detailed advice, consider reaching out to experts like those at Calgary Windows. They offer a range of services and can provide insights into maintaining and enhancing your home’s windows. Their professional team can help ensure that your vinyl windows are painted correctly and look stunning for years to come.